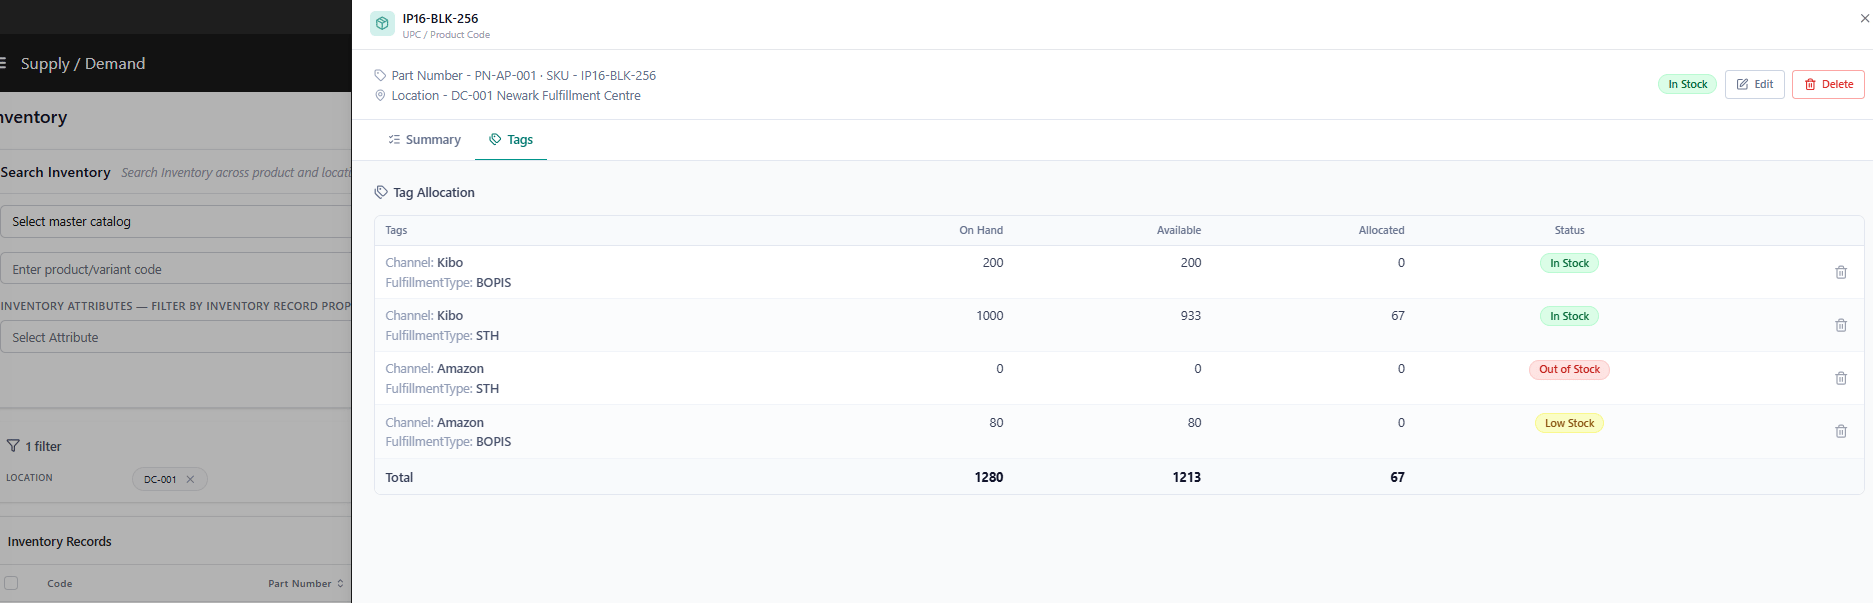
Set Tags via API
An example of an Inventory Refresh call that sets inventory data with discrete tag values:quantity provided in this request (as well as in the inventory file import shown below) is used for the On Hand value. The system will then calculate the appropriate Available amount. If you want to change this behavior so that quantity is applied directly as the Available inventory value, contact Kibo Support to update your tenant configurations.
Upload Tagged Inventory Files
The inventory import process also supports segmentation, so you can use this file upload to apply your tags instead of doing it via API. To do this, add the tag name as a column header after the default headers and insert the tag value into the column value. The example below shows a sample file with Channel and OrderType tag columns:Redistribute Tagged Inventory
Inventory should be periodically redistributed between your channels based on the allocation percentages. You can do this on-demand by calling the Inventory Redistribution API with the UPCs and/or location codes you want to redistribute across. Asynchronous redistribution will then occur at the next Refresh or Adjust update to restore the appropriate amount of inventory to the designated channels.Apply Tags via the new Supply/Demand UI
Note: This option is only available in the new Supply/Demand UI. Contact Kibo Support to opt in. All sandbox tenants will receive the new UI on July 21.
Prerequisite: Inventory Tags must be enabled for your tenant. Go to Main > Orders > Inventory > Settings > Inventory Tags to enable. If Tags are disabled, the tag selector will not appear in the Create drawer.
- Go to Main > Orders > Inventory.
- Click + Create Inventory. The Create drawer opens on the right.
- Enter the UPC / Product Code and select a Location.
- In the Tag field, select the tag you want to assign this record to.
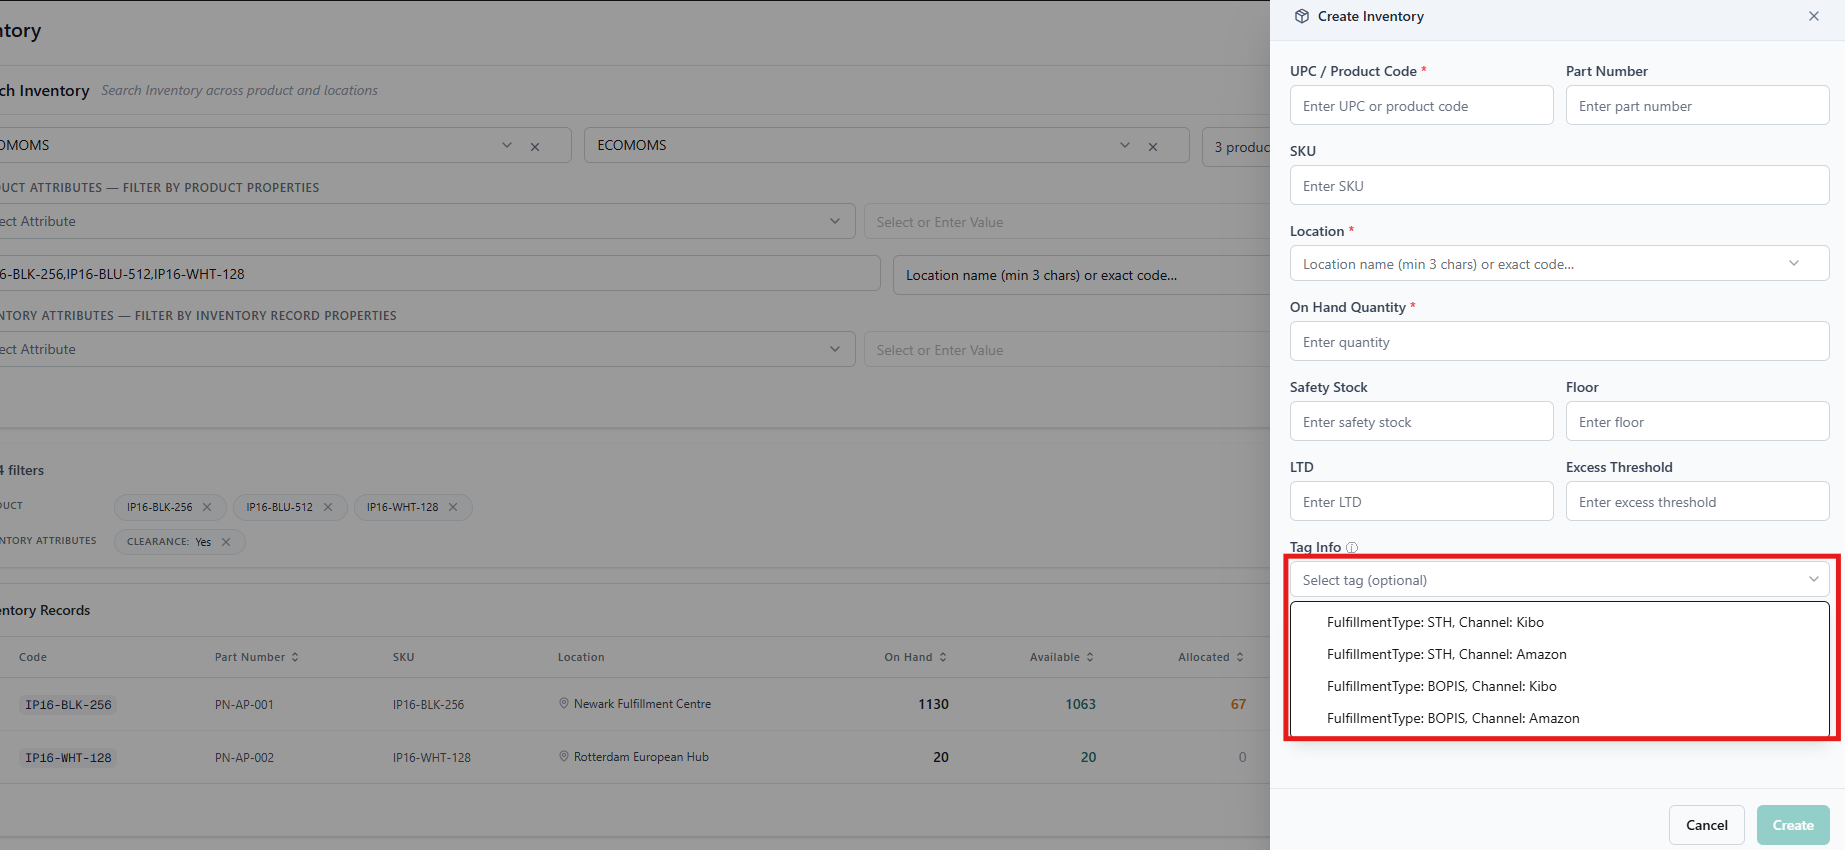
If no tag is selected, the record is created at the UPC-location level (untagged). Previously, the only way to create tag-level records was via the API or file import.
- Enter On Hand and any other applicable quantity values.
- Click Save.